On the weekend of June 6th 2021 I went camping on an old pecan farm in Kansas with some friends. On this farm land is an old chicken coup, stone water well, and a small collapsing farm house. The house has been abandoned for over a decade. Most everything from the inside is long gone. The floor bent and squashed as I walked across it, on the verge of collapse.
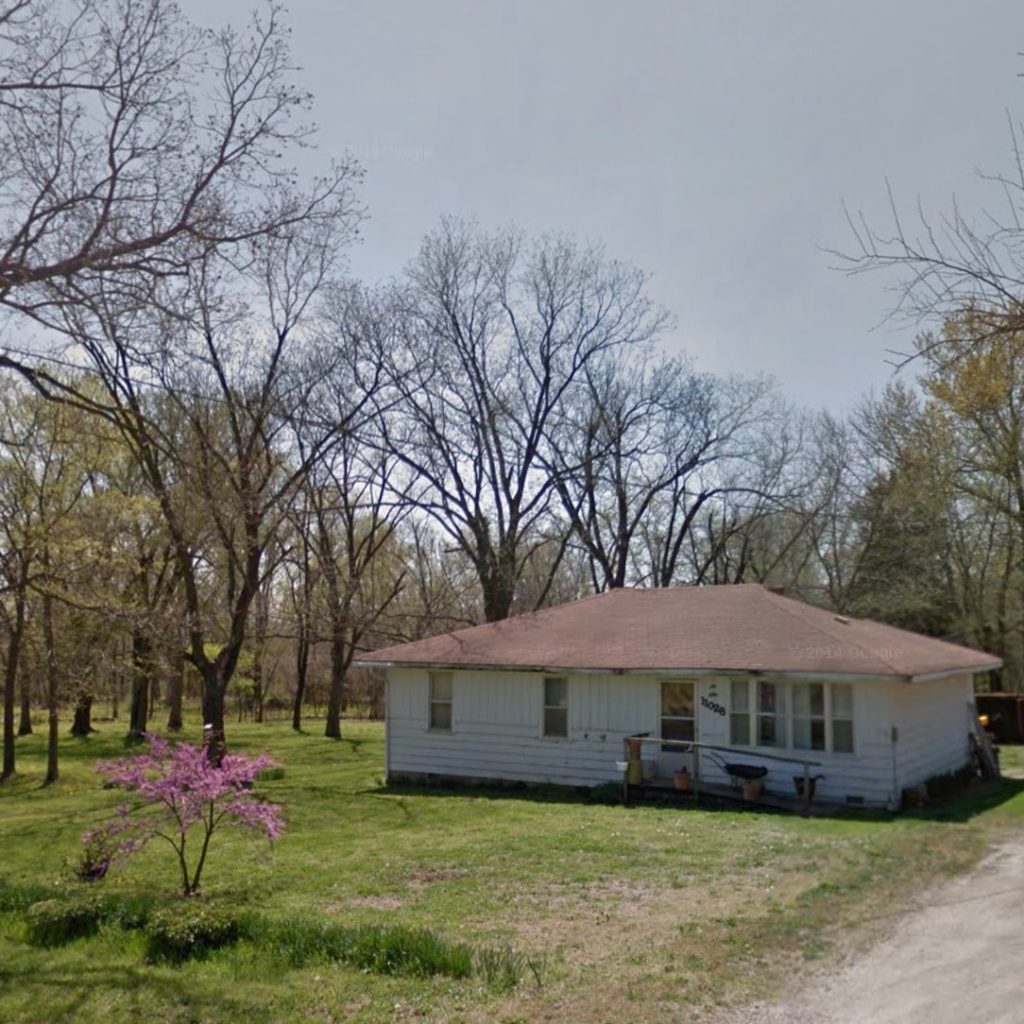
There were two things of possible value still inside the house. One, a tub of records located in the bathroom. Two, a late 1990’s era desktop computer trapped in the living room closet. It really was trapped, the floor and door had been wedged and fused together due to the floor’s moisture swelling. Considering all that moisture being present, it would be a long shot that this PC still worked, but you don’t know unless you try. The PC turns out to be a Dell XPS tower with a matching CRT stacked on top.
My brother and I stuffed the tired old equipment in the back seat of his sedan on top of our camping gear. The ride home was slightly smelly and I’m pretty sure I saw a spider dash out from the monitor at one point. Once we got home I stacked it next to my workbench in the basement.
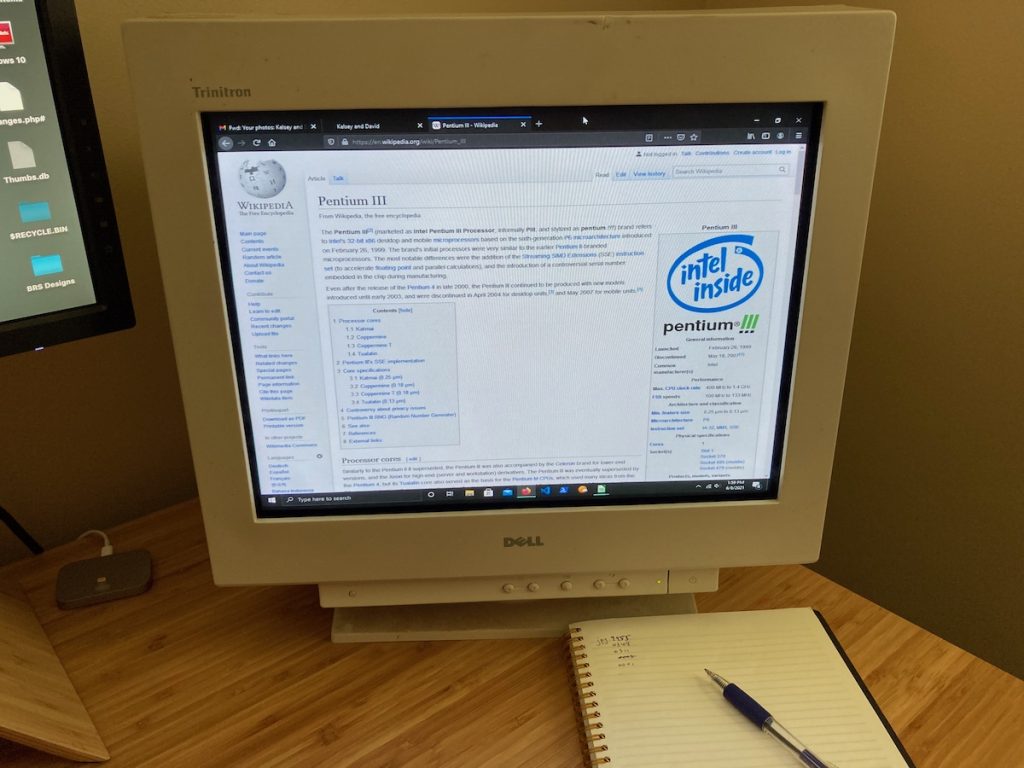
To be honest the filthy relic sat in my basement for a few weeks before I started checking it out. First thing I did was hook up the CRT to a known working PC. After connecting the cables and pushing the power button I heard that satisfying CRT sound. You know the sound. The tube came to life, warmed up, and displayed the BIOS of my modern machine. It works just fine.
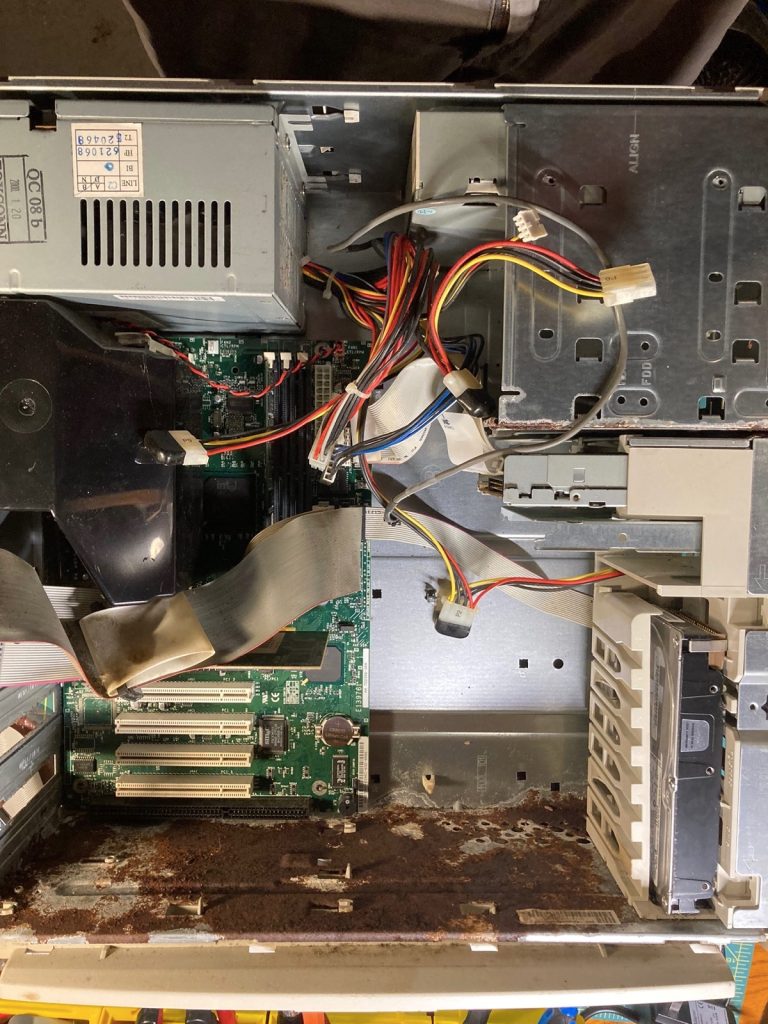
The tower turned out to be a different story. I had a feeling that just plugging it in and flipping it on could result in an unfortunate situation involving smoke. I thought it best to at least open up the case and give it a little visual inspection. I’m glad I decided this because opening it revealed very dirty and rusty situation. It looked like a small mammal had also lived in there for a short while or possibly the previous owner had cat or dog and just never cleaned out their case.
My next moves were to disassemble and clean. I vacuumed out all the fur, dust and rust. After verifying all was dry and clean of loose debris, I proceeded with the smoke test. I plugged it in and to my surprise I didn’t see any smoke. Nothing showed up on the monitor, however I did receive an audible POST (Power-on Self-test) message. Now this is a Dell computer with it’s own Dell diagnostics protocol, so I didn’t know what the message meant.
One thing I do know, the monitor never got a video signal which drew my attention to the video card. The back of the video card did not look great. It was very grimy and more than one of the tiny capacitors looked split. I hopped on Ebay and checked out the market. You can’t just shop for any video card, back in the late 90’s/early 2000’s these cards used an AGP (Advanced Graphics Port) port. That narrowed down my search, but luckily these last 32-bit systems are not yet in high demand. $20 USD got me a nice clean card with twice the performance.
Usually the first thing I look at when repairing any PC is the power supply. When I’m building a modern PC, the one thing I never cheap out on is the power supply. It’s such an important piece because all other components are down stream from it electrically speaking.
I was surprised the old one was even working and that I didn’t hear any fireworks on the initial power on. It seemed best to go ahead and remove this piece from the equation and bring in a high quality power supply I got a couple years back. The only problem with this approach is that Dell motherboards from this time have a custom power connector in addition to the standard one. I turned to Ebay again here and luckily it cost me less than $10.
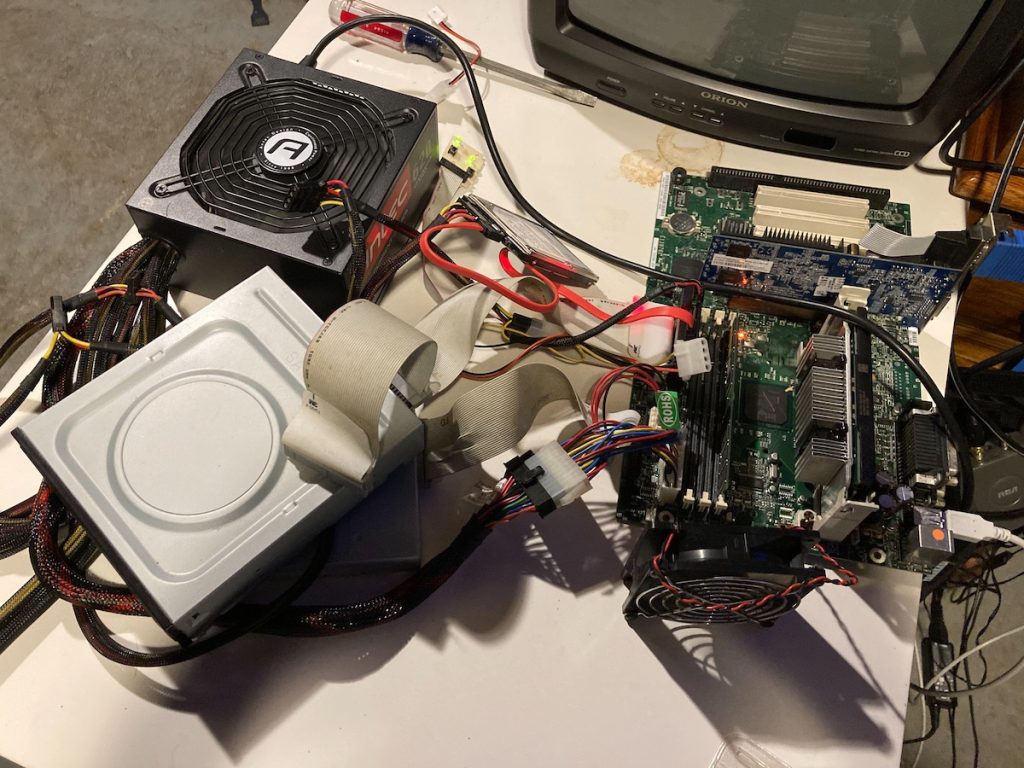
A couple weeks go by and I receive the power adapter and a clean Nvidia GeForce 6200 512MB video card. At this point I found best to pull all the components out of the rusty old case and lay them flat on a table. Instead of busting my knuckles on an old rusty case, connecting everything together on a clean table will more easy to manage. Besides, it becomes clear to me that the computer side of this project is going to go faster than the case restoration side.
My close friend and neighbor had me over for game night. Usually a couple times a month we hang out at his place for a little video game action. This particular night in August he asked me if I wanted his old PC. I helped him build this video editing PC back in 2012-2013, I can’t quite remember. It occurred to me that I could use some of the parts in the Dell project, so I accepted.
Now that I have a clean and rust free donor case, I transfer the motherboard, power supply, drives and video card over from the rust bucket. Time to power it up and see if we get anything on the monitor.
Presto! It’s alive!
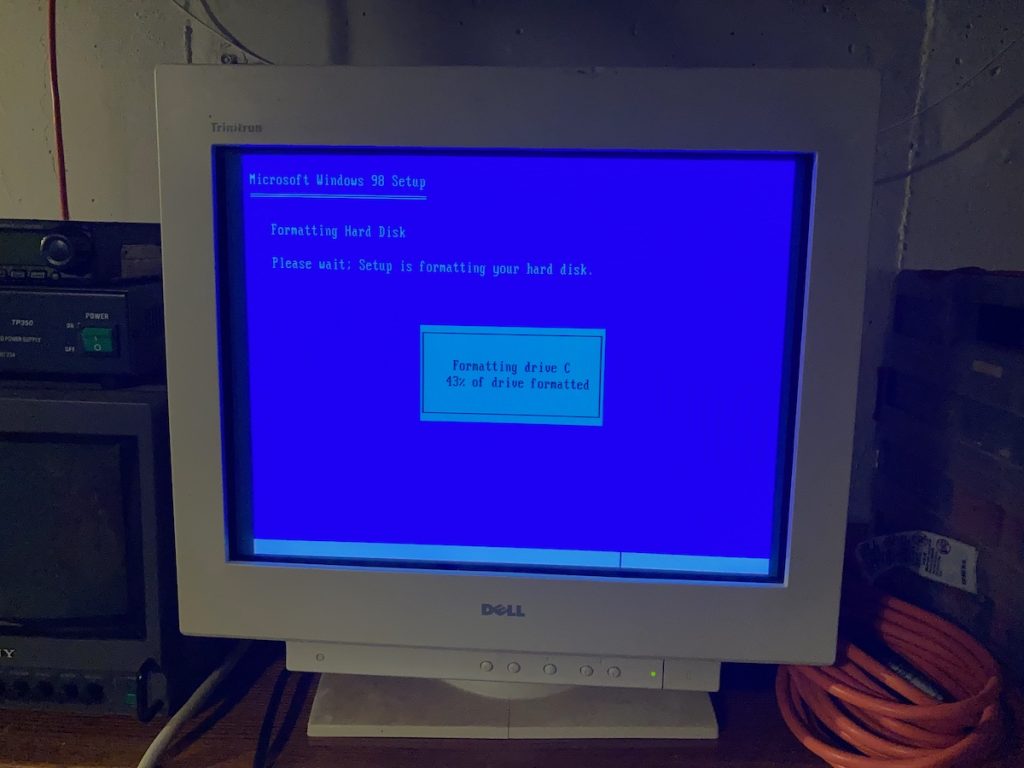
The Dell BIOS screen displays beautifully in black and blue. We soon get the next challenge, a no operating system message. What are we going to do for an OS? I check the sticker on the front of the PC case. It seems this Pentium III processor was ready to tackle Windows 2000, NT and 98. I decided to start off with installing Windows 98 on a 40GB hard drive that I pulled out of an old broken PlayStation 3. Also since this hard drive uses SATA connections and the mother board uses IDE, I decided to bite the bullet and get an adapter. This will future proof it for any newer drives I may use later down the road.
I find myself back in the world of Windows 98. This was about the time I started to remember how much drivers were a pain in the rear back in the day.
Comment section